We don’t eat much cereal at our house because it’s hard to find a plain, whole grain cereal that doesn’t have additives or sugar mixed in and isn’t $7 a box.
My solution … buy whole grains in bulk. I’ll buy oat groats, which are gluten free along with millet puffs.
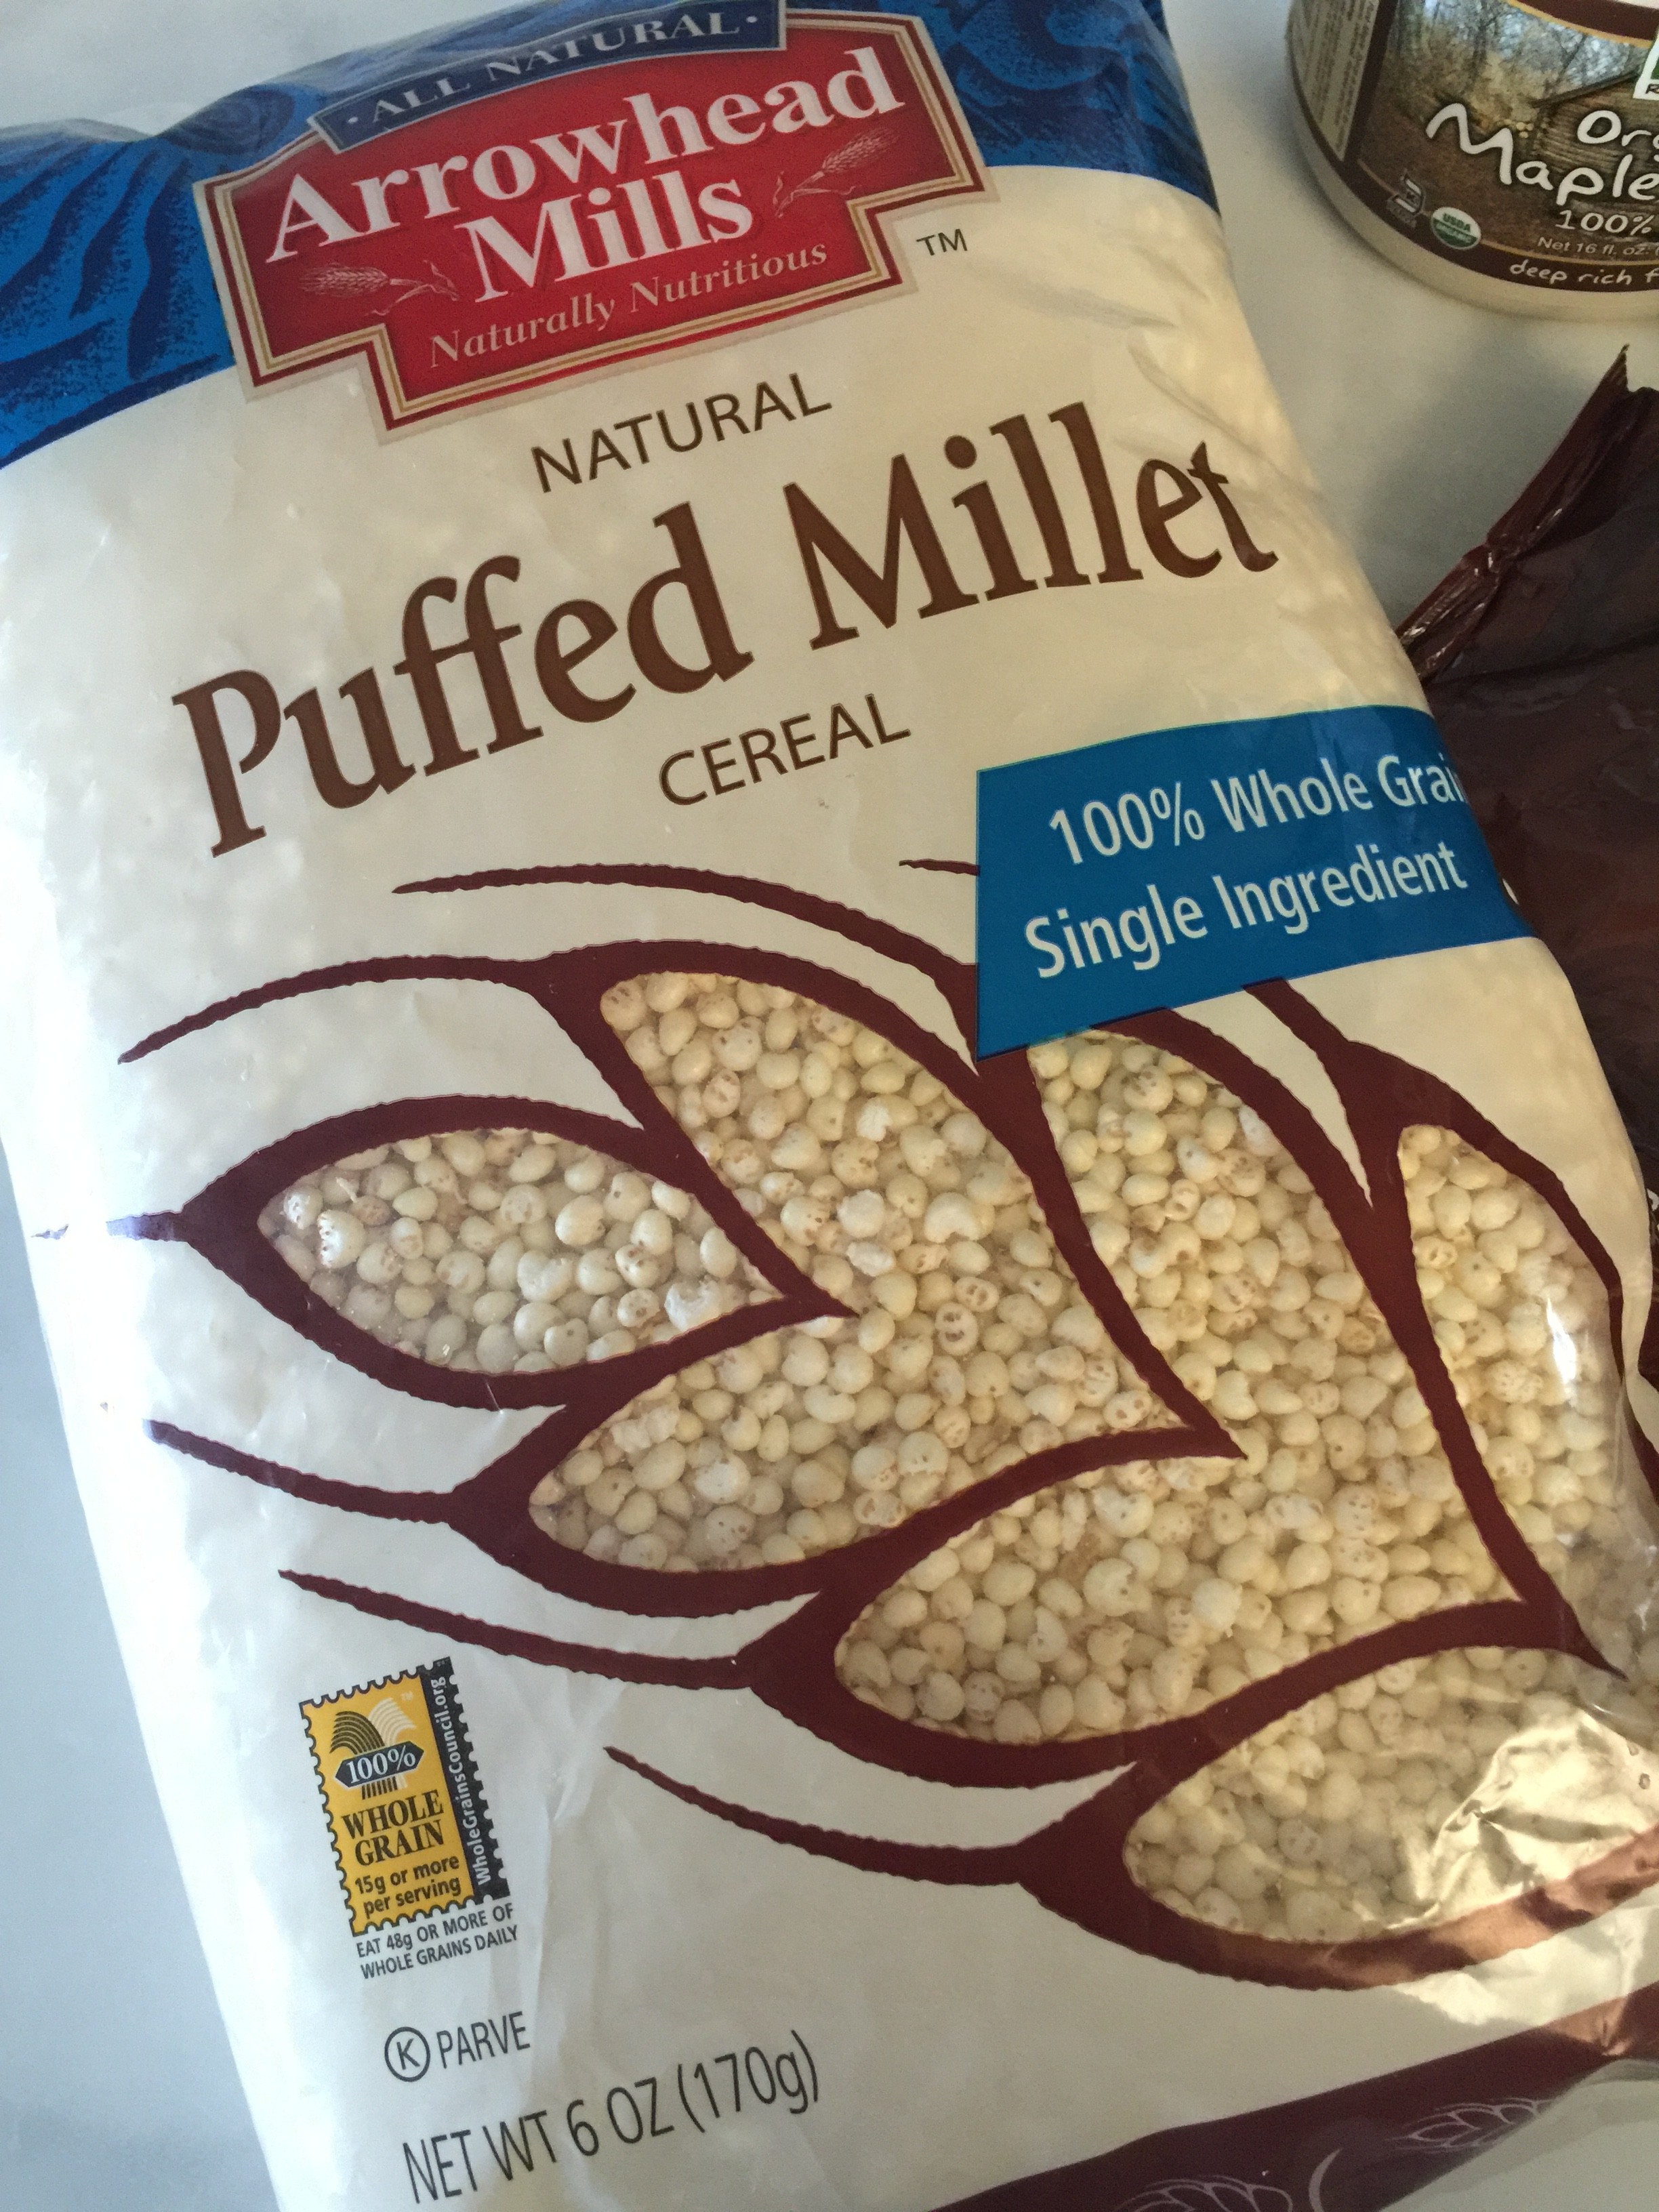
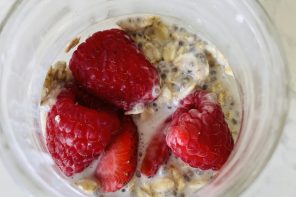
Millet is a nice alternative that’s gluten free and all natural. Nutritionally they have a nice dose of vitamins and it’s one of the few grains that boasts protein: 2 grams in 1/2 cup. I can sweeten it with a little grade-b maple syrup and berries. I’ll then add some almond milk and my kids suddenly have a nice, healthy breakfast cereal.
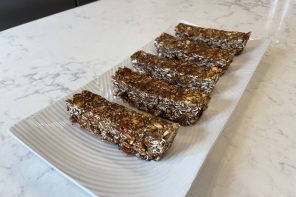
Now… cereal is also a great base for many treats. Remember good ol’ Rice Krispies Treats?! While these millet puffs aren’t as crispy as Rice Krispies cereal, I still thought it might work as the base of a potential knock off. And … I was right!
This quick and easy 5-ingredient dessert is made with all natural ingredients. Instead of butter and chemical filled marshmallows, I introduced heart healthy almond butter, mineral filled grade b maple syrup and antioxidant filled chocolate. Here’s what you’ll need for these goodies.

Millet Crispy Treats ingredients:
1/2 c. almond butter
1/2 c. grade-b maple syrup
2 tsp. non-alcohol vanilla
2 & 1/2 cups puffed millet
1/4 c. chocolate chips (melted, for topping)
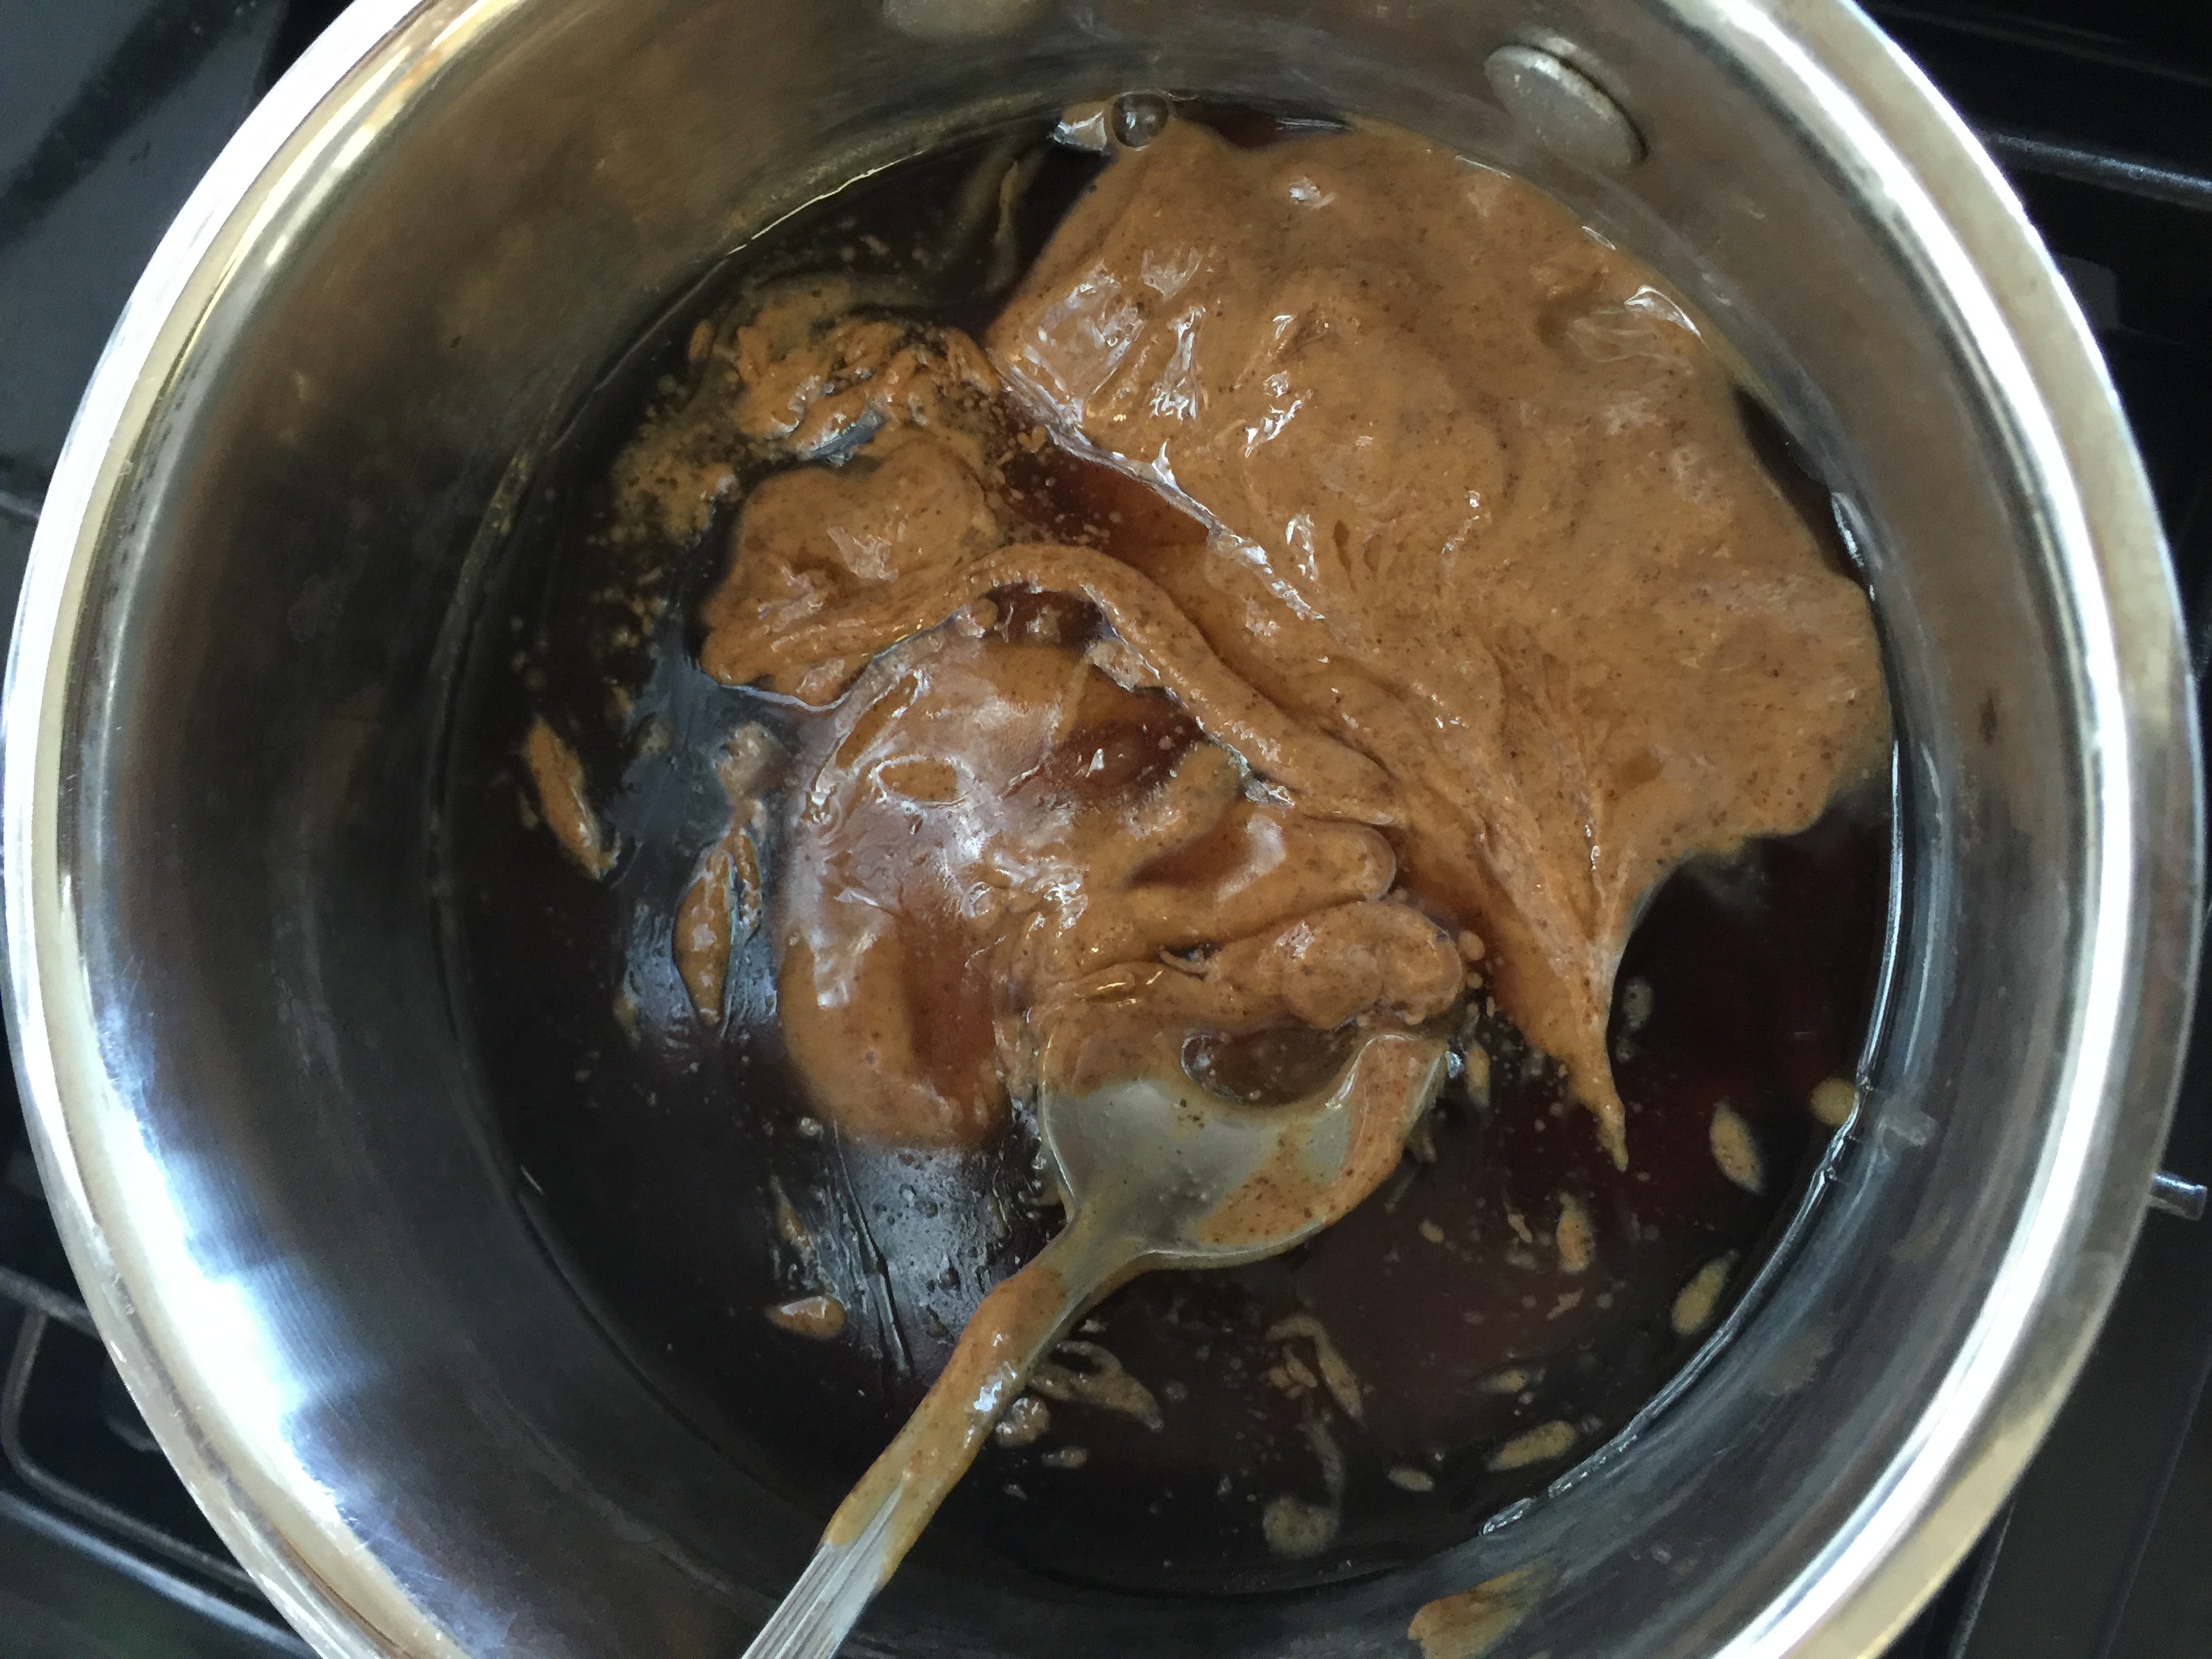
1. First, you’ll want to soften up your almond butter in a saucepan on the stove. Add your grade-b syrup, once the almond butter starts to melt, then let both melt together briefly. Your goal is simply to soften the almond butter (since it’s stored in the fridge) enough that it mixes easily with the syrup and puffs.
2. Once the mixture has melted, take it off the stove and add in your vanilla and give it a stir.
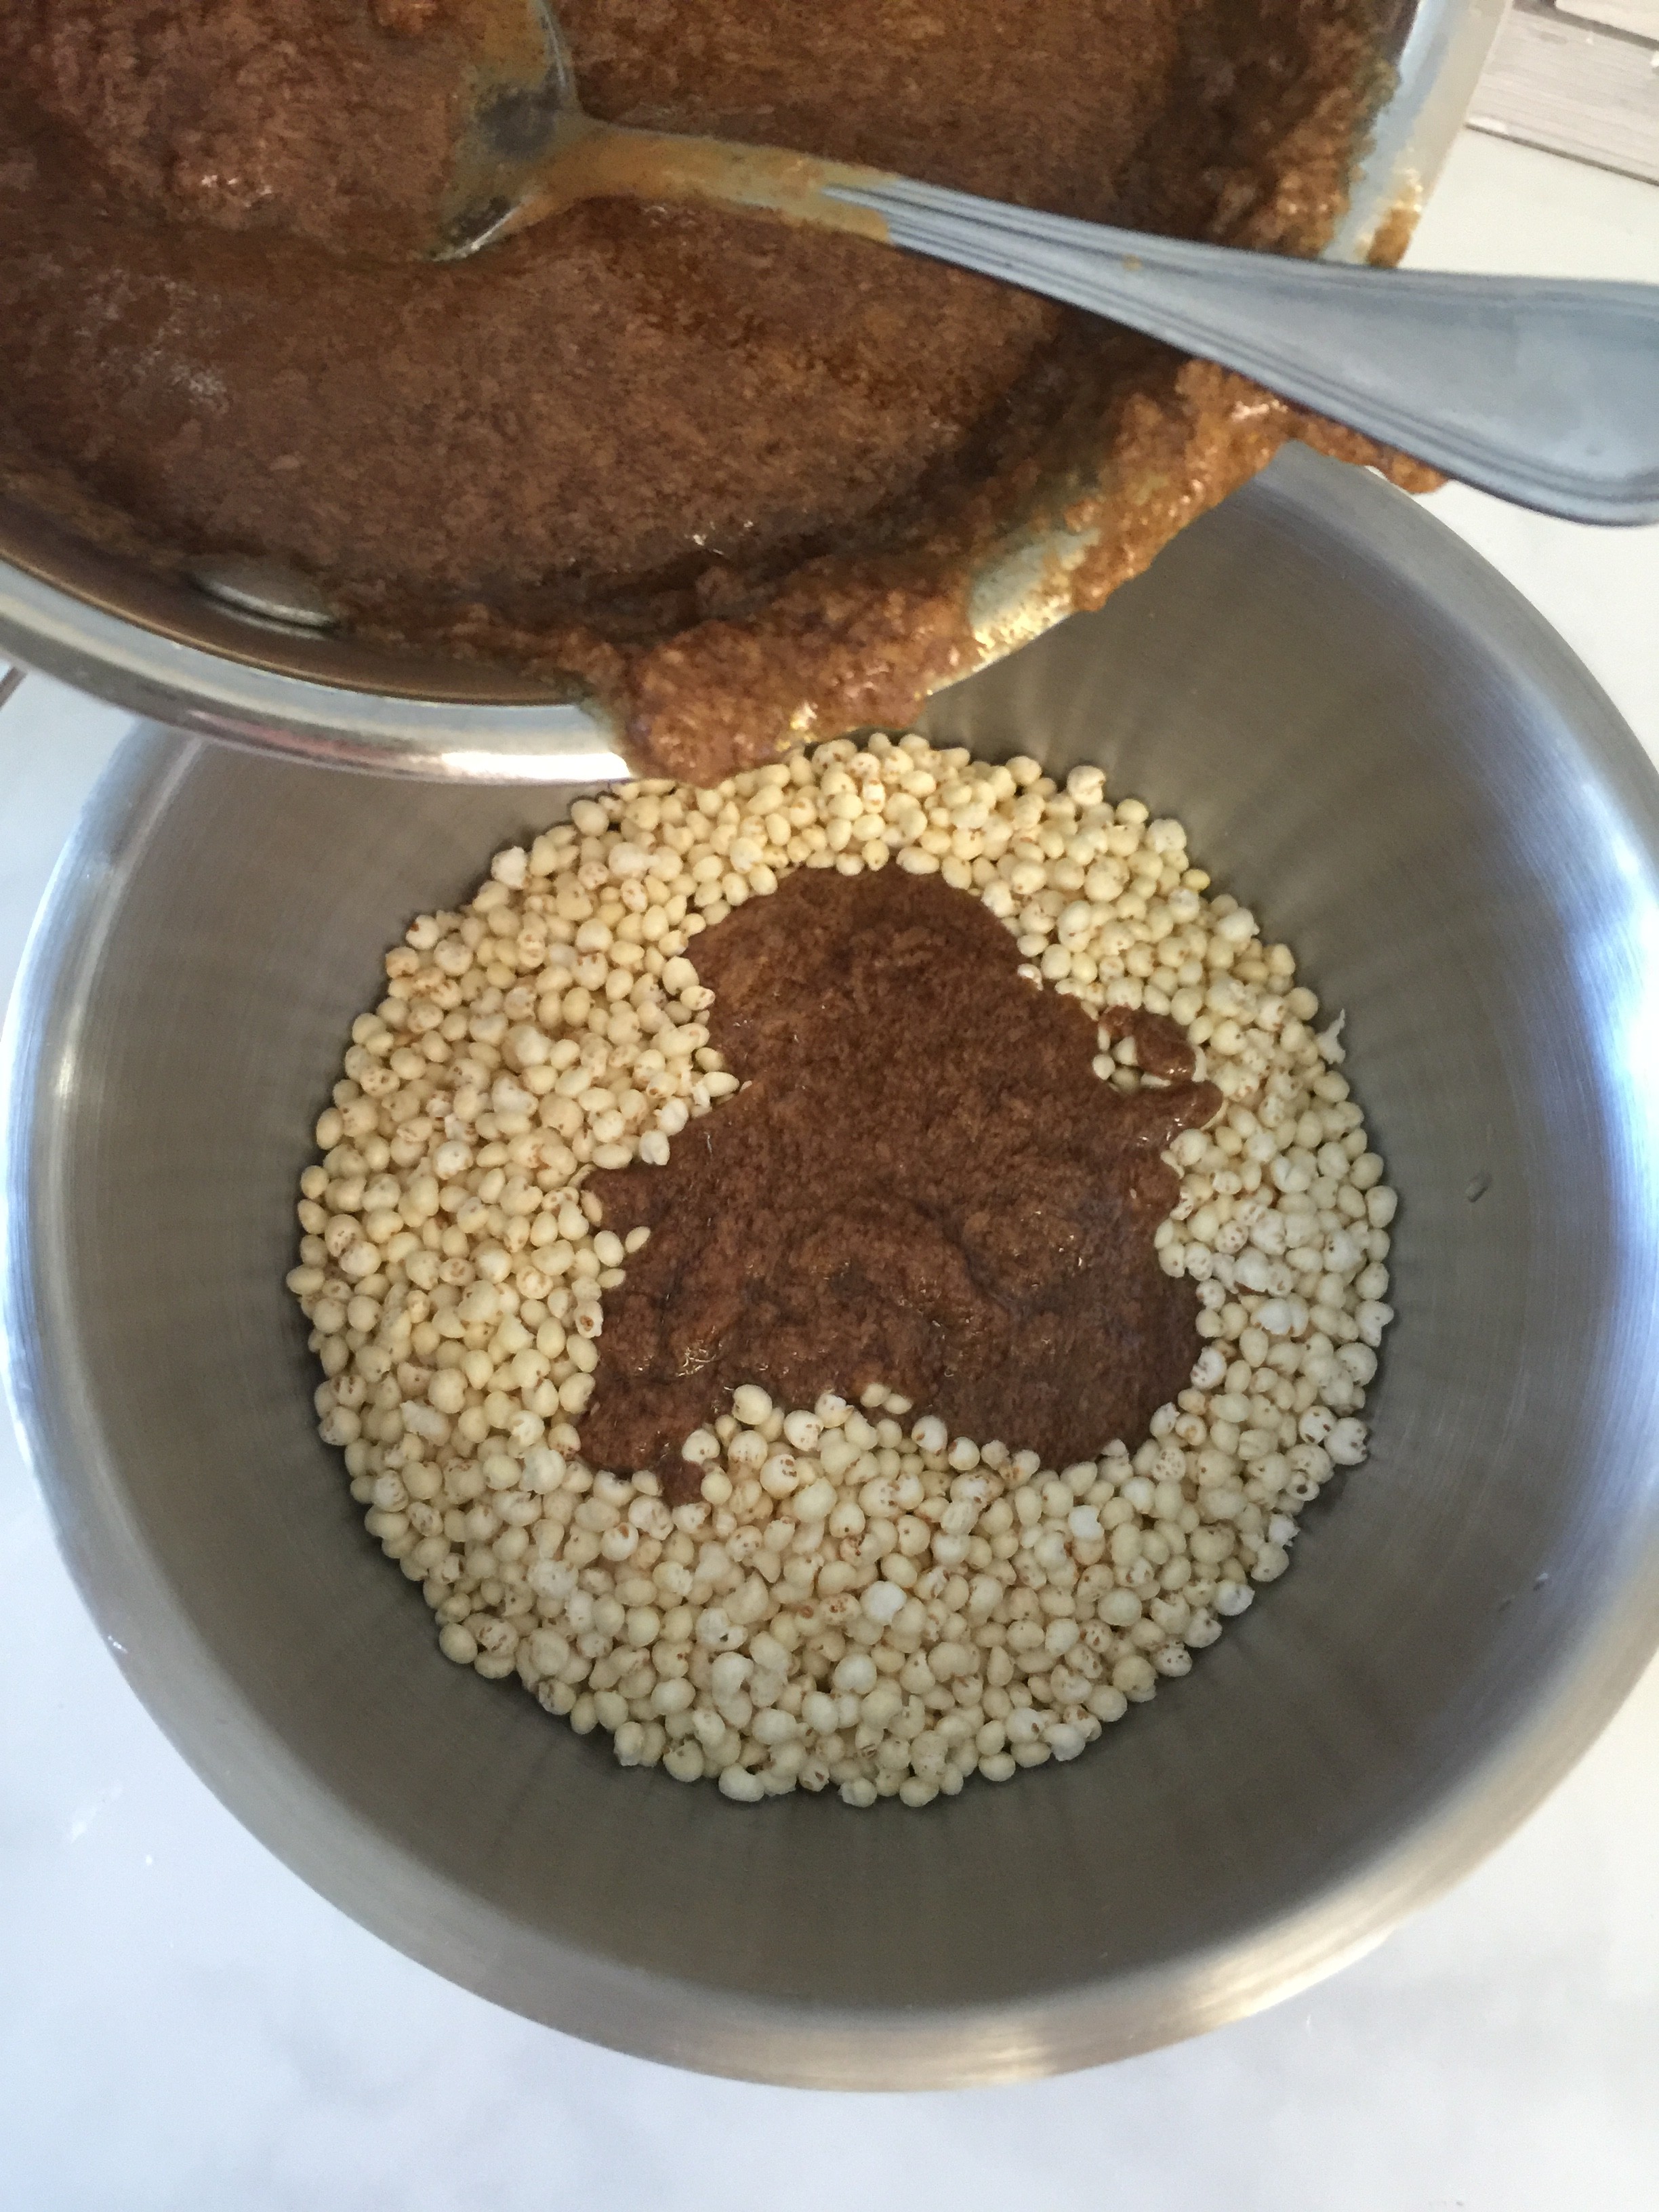
3. Have 2 & 1/2 cups of millet puffs already in a bowl. Mix in your almond butter/syrup/vanilla mixture and stir until the puffs are evenly coated.
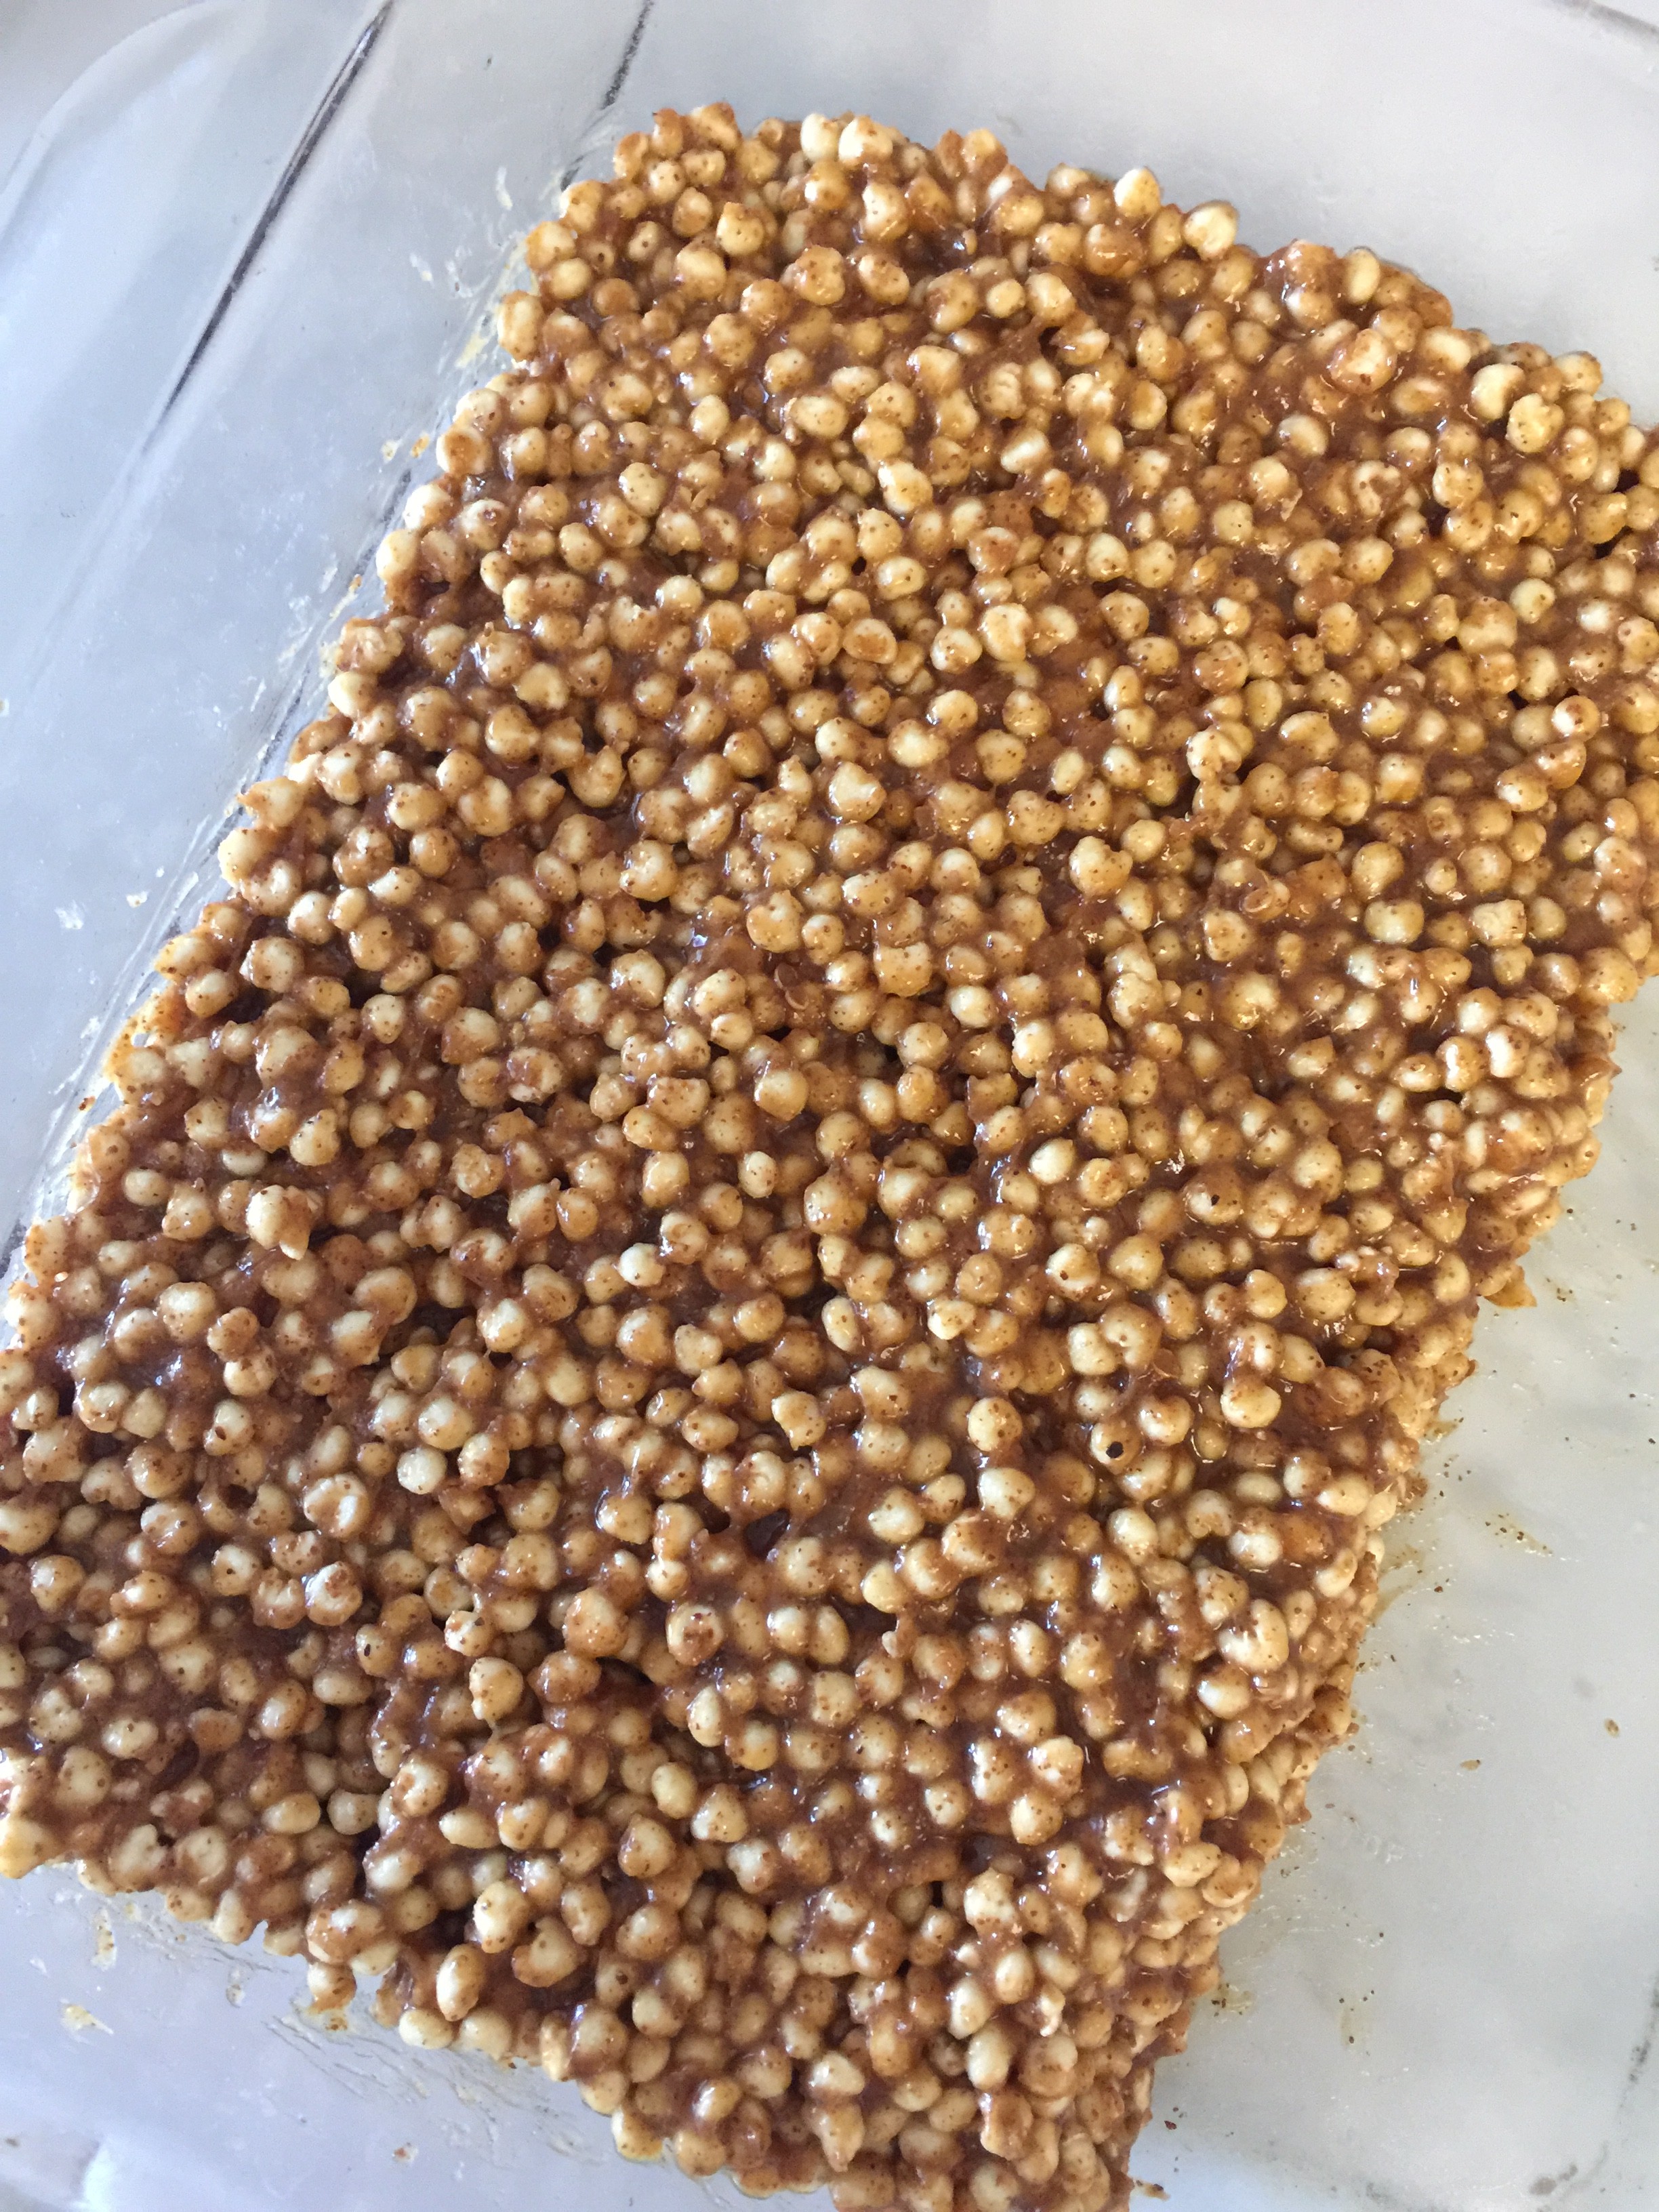
4. In a 9 x 7 Pyrex pan that’s been lightly coated with a non-stick spray or coconut oil, spread the mixture in the pan. You’ll want to press it down firmly and really pack it in tightly. This is key! I used the back of a spoon to pound the puffs down and really pack everything together. (If you have an 8 x 8 pan you can use that, just spread the mixture over all but 1/4 of the pan.)
5. Melt 1/4 cup of chocolate chips. I’m anti-microwave, so I melted my chips in a small saucepan on the stove, stirring frequently for 3 minutes. You can use Vegan Carob Chips to keep it dairy-free, or I like SunSpire’s 65% cacao chocolate chips. They are high in cacao content which means higher in nutrition.
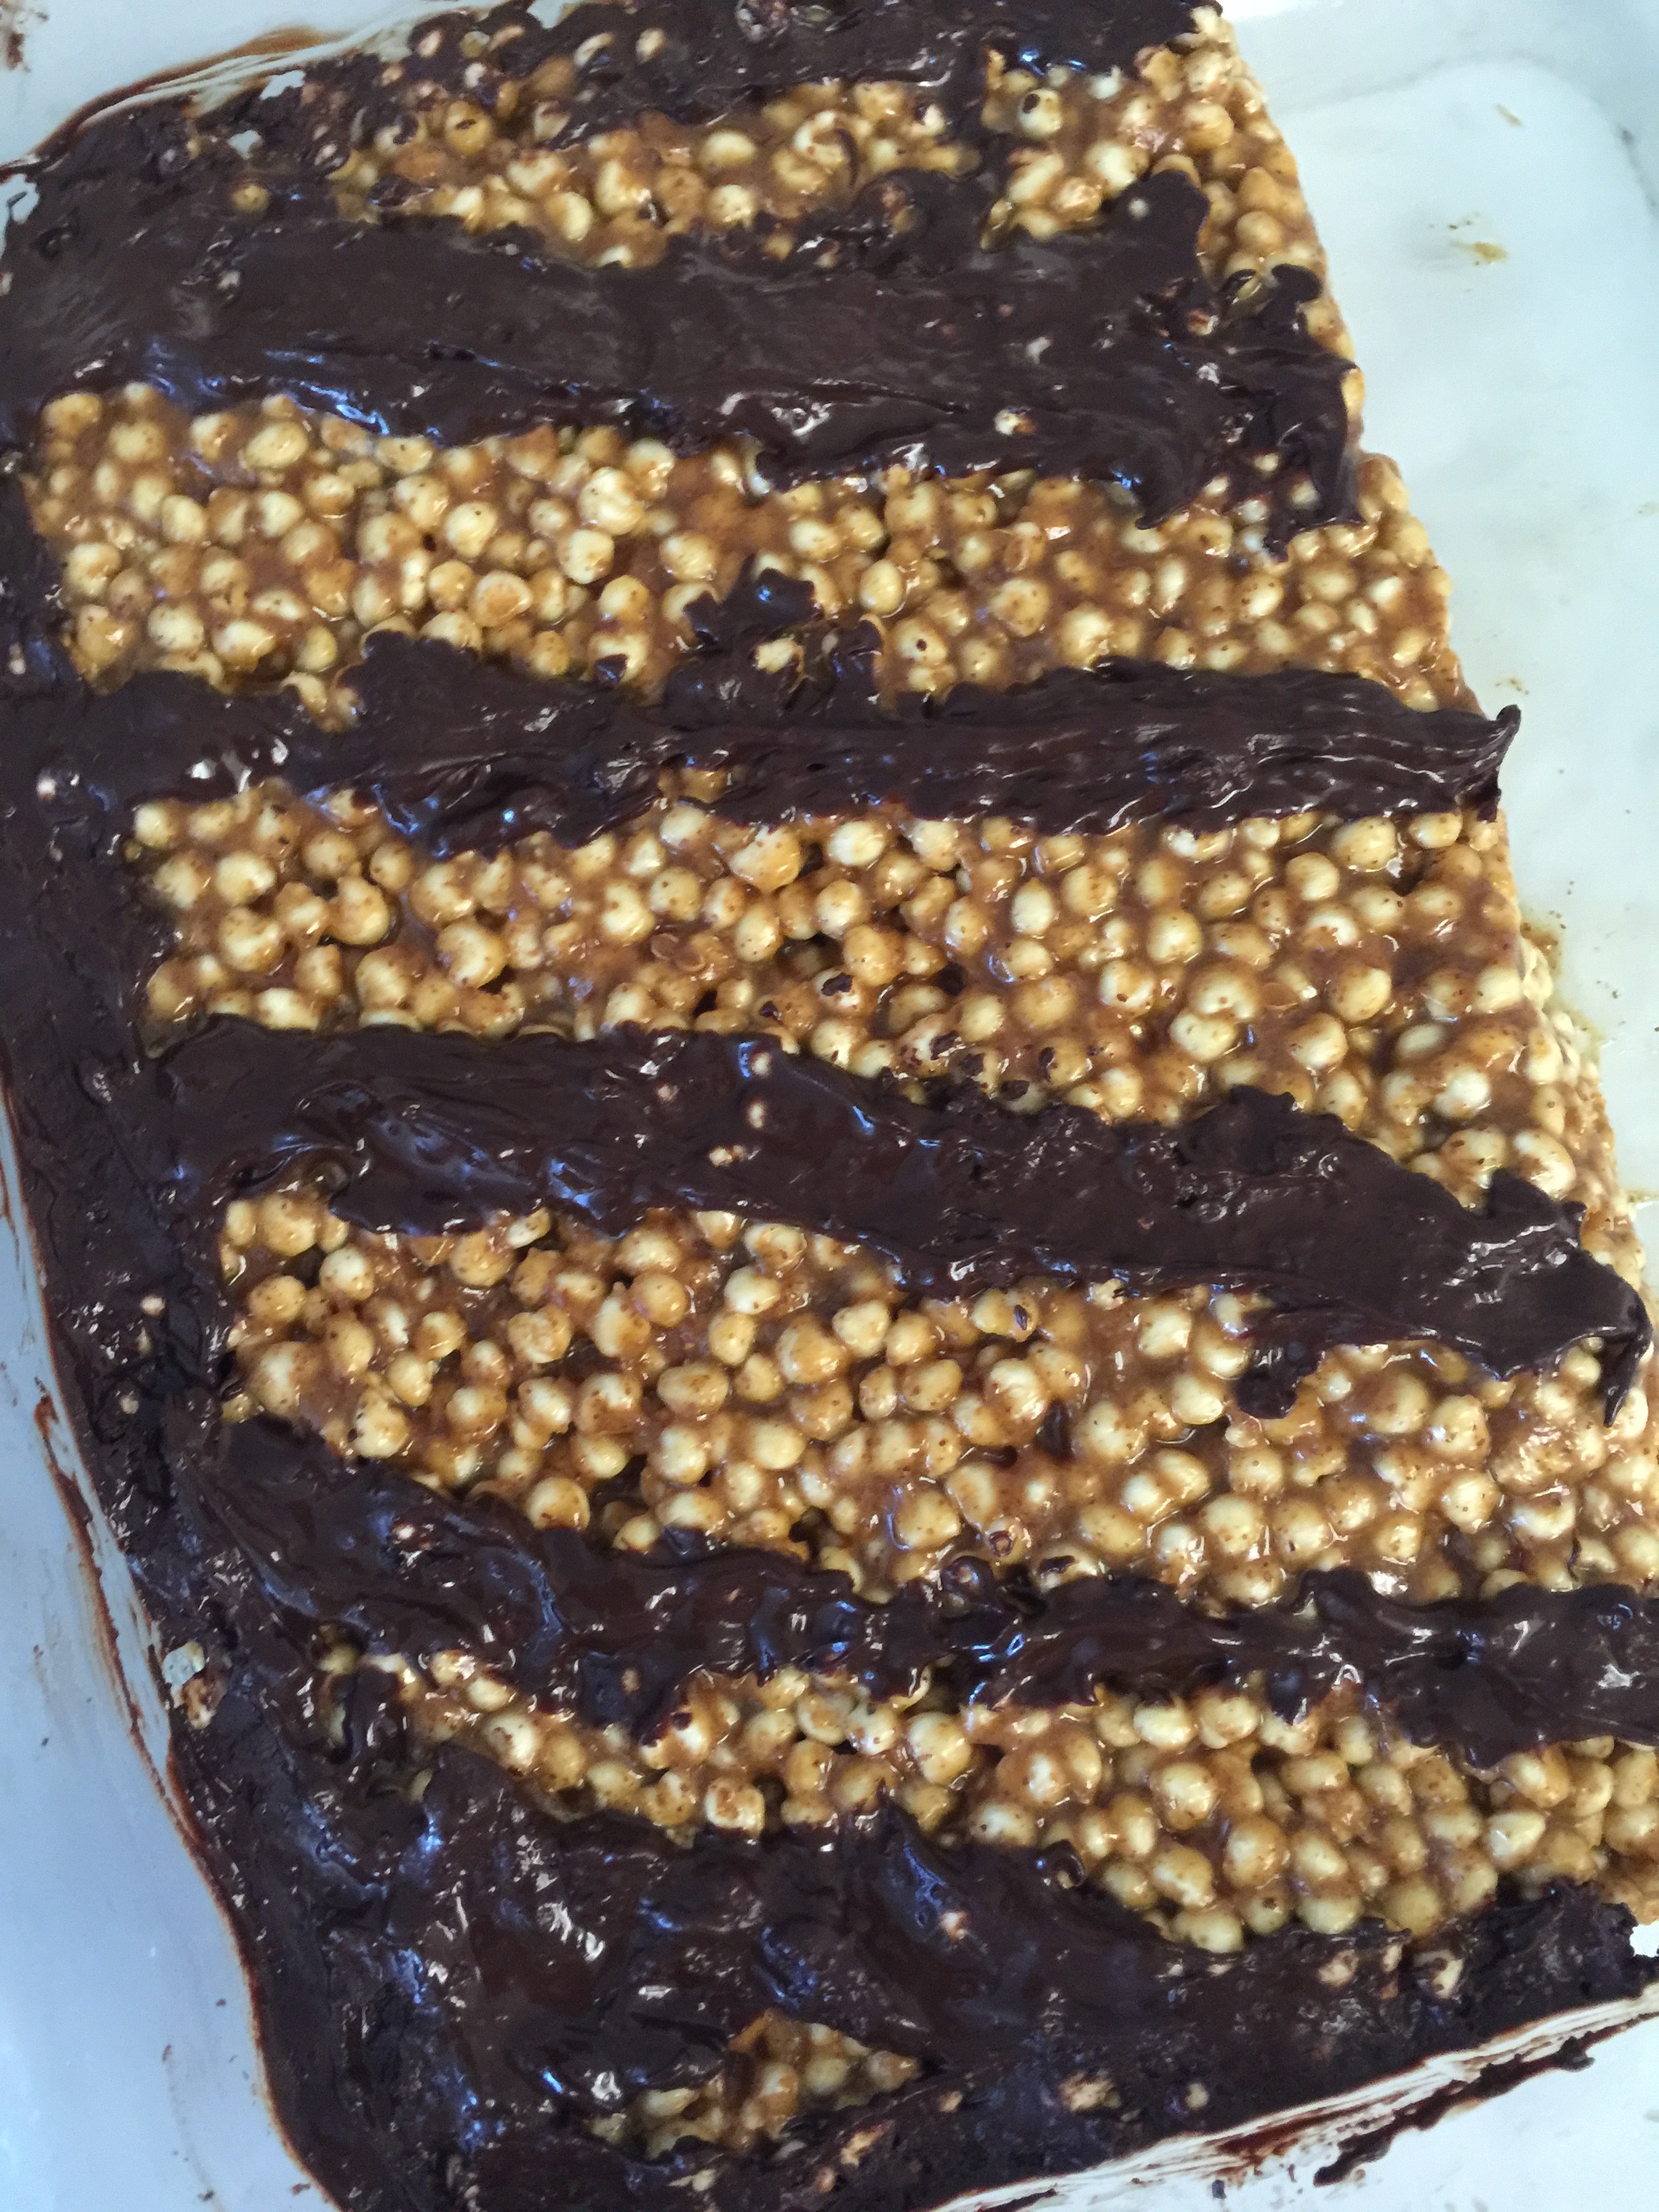
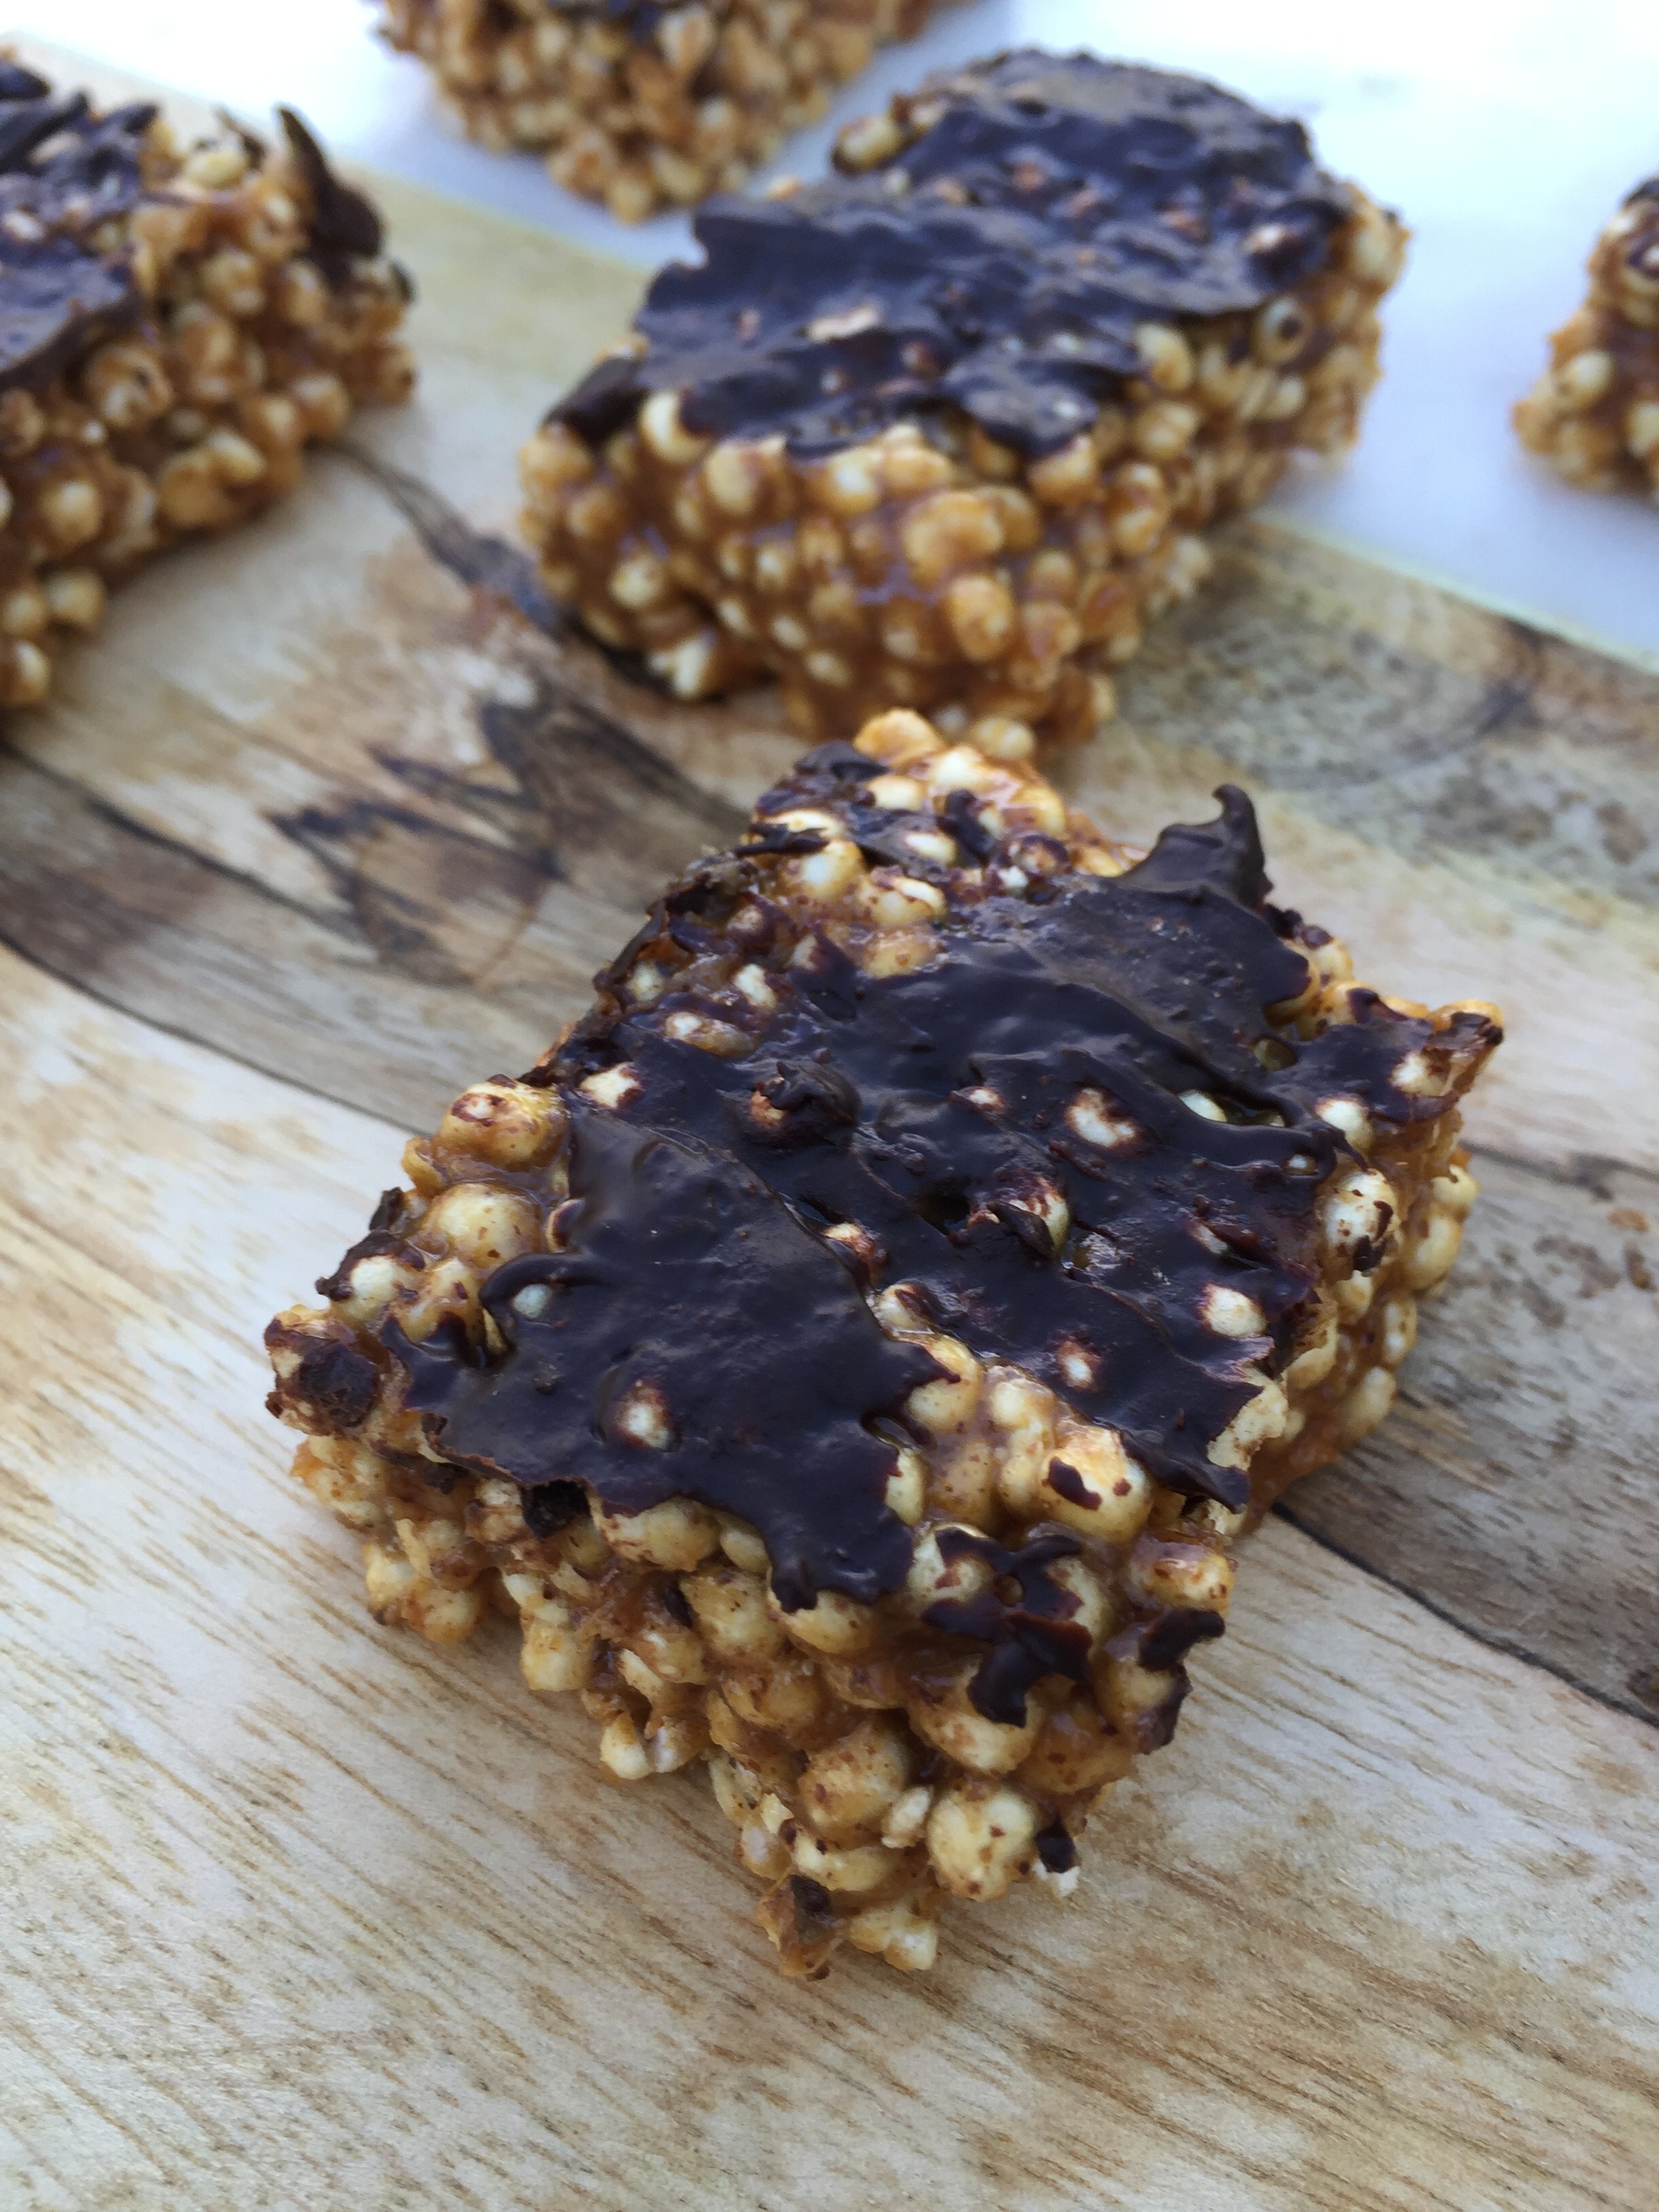
6. Spread the melted chocolate onto your puffs. I used a butter knife to dole out the chocolate and made a diagonal pattern.
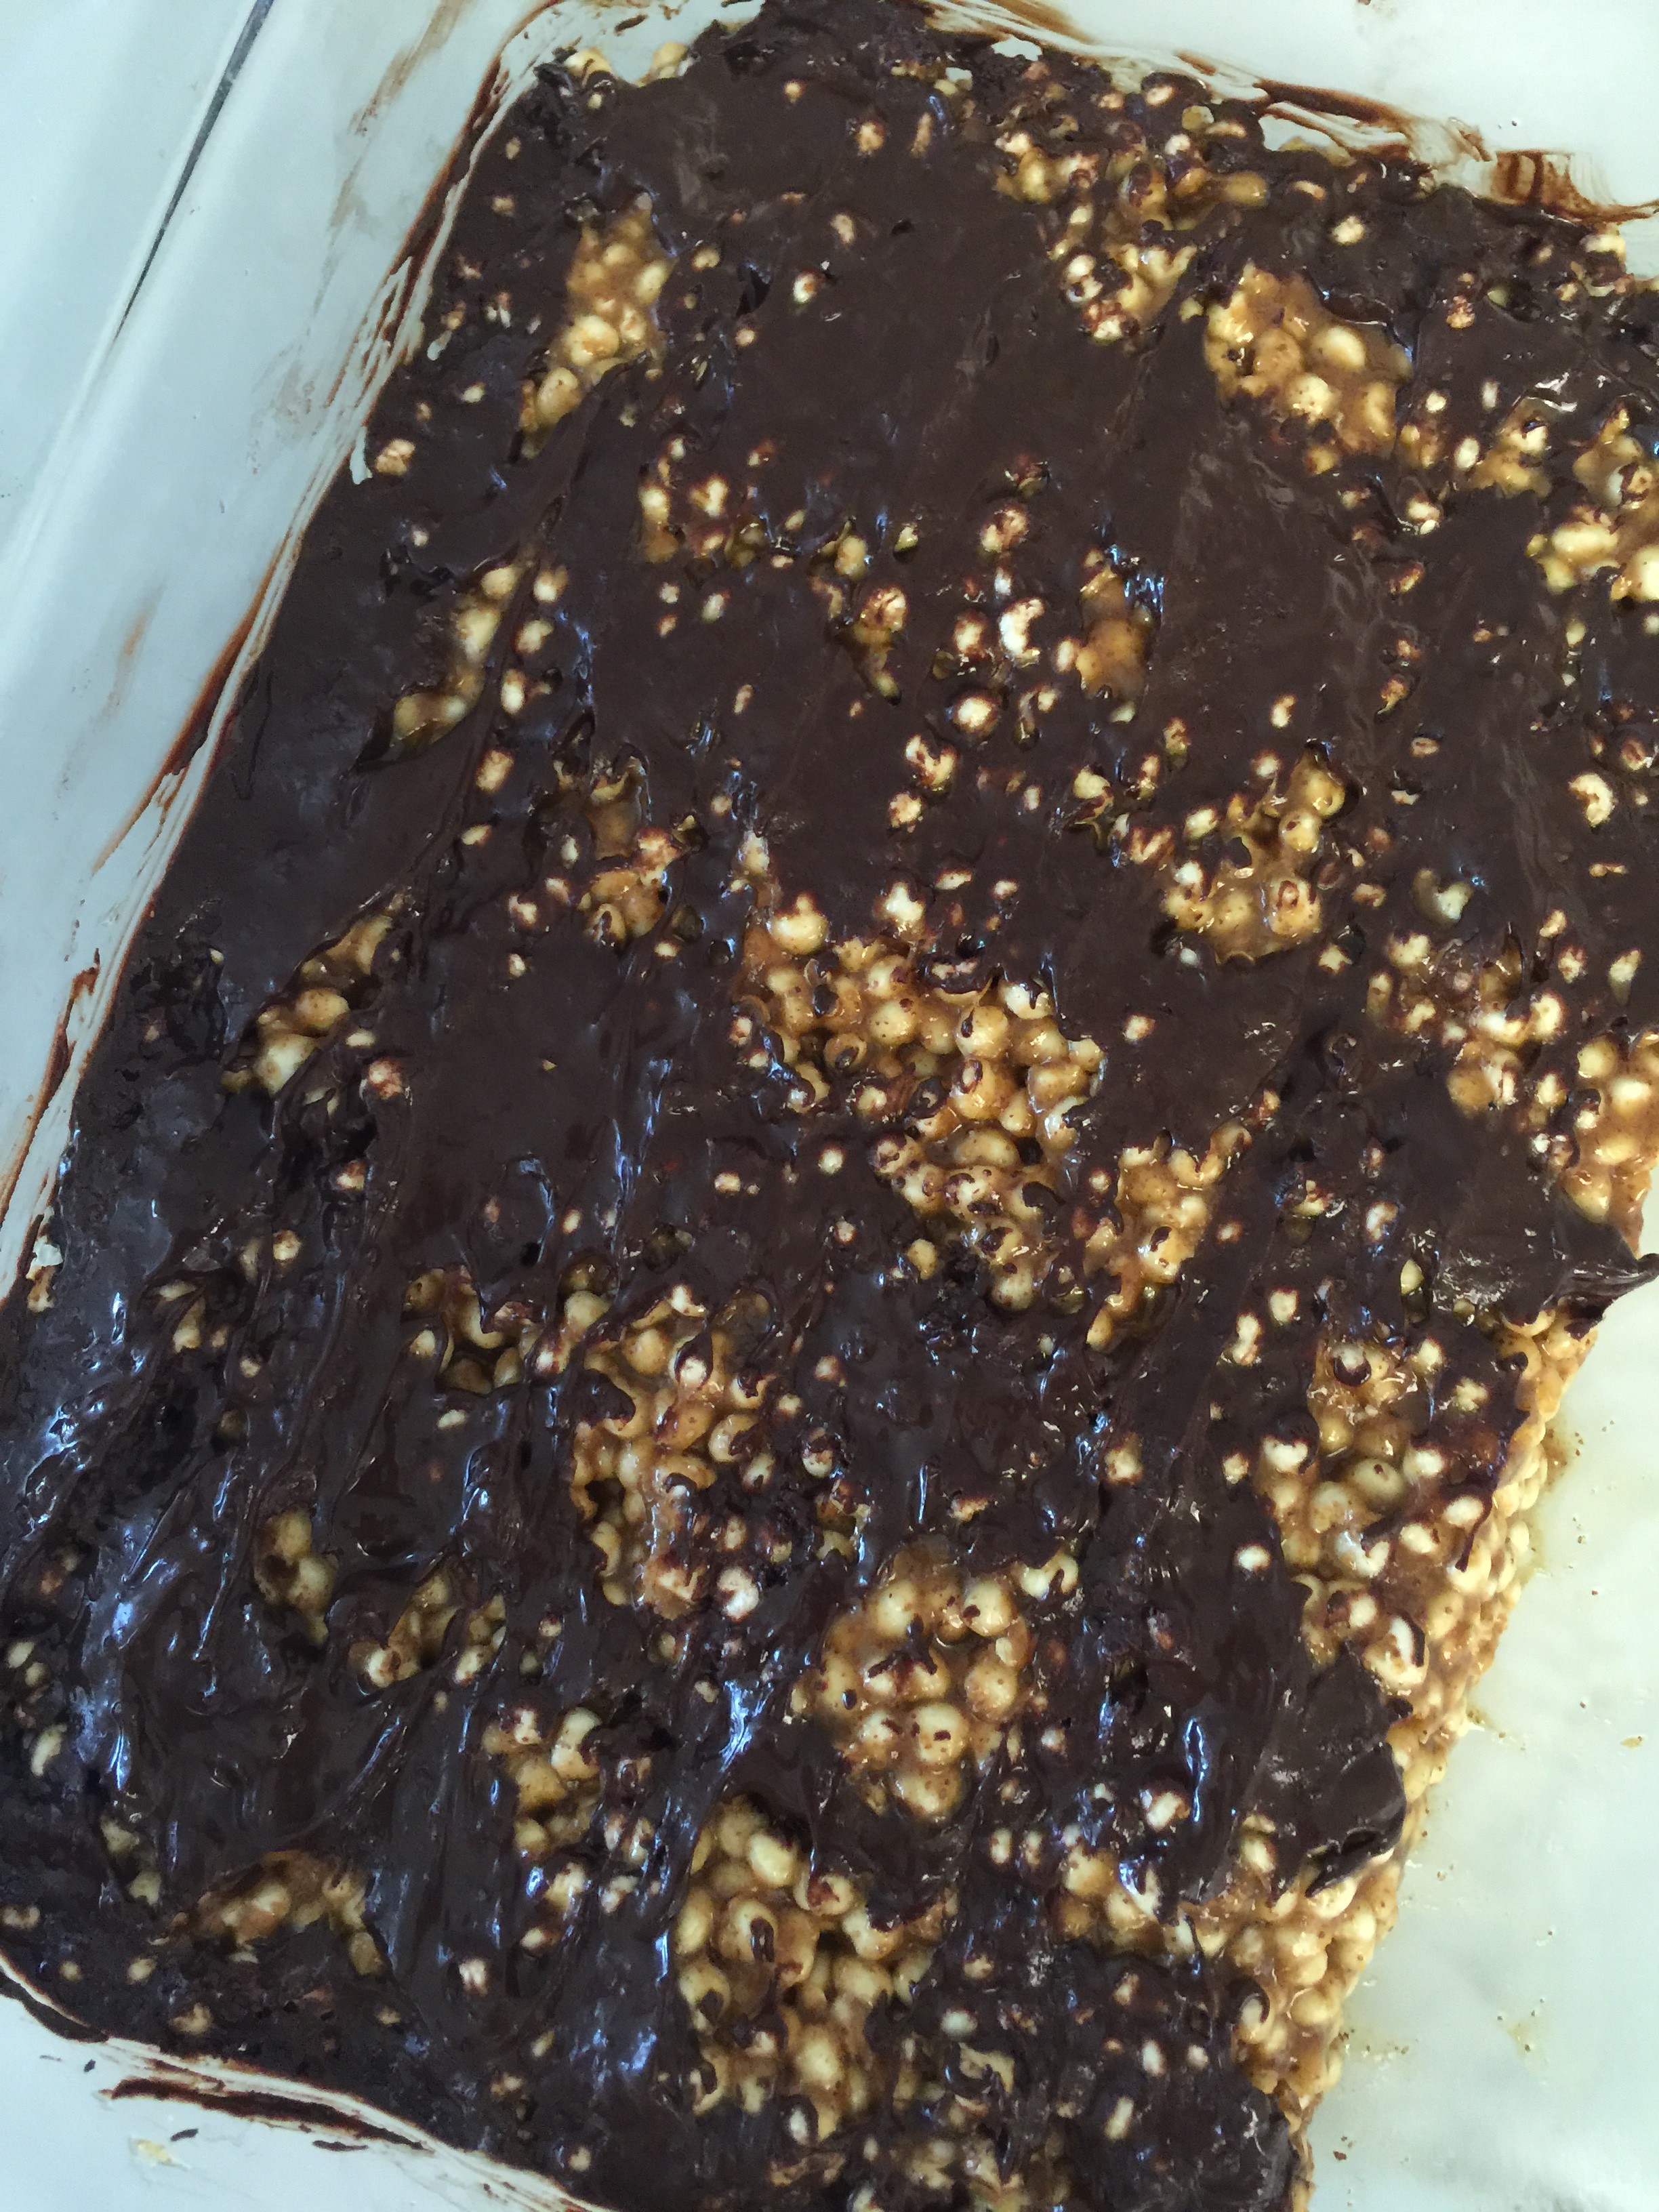
7. I then ran a knife down vertically through the diagonal stripes, to cover more of the puffs with chocolate.
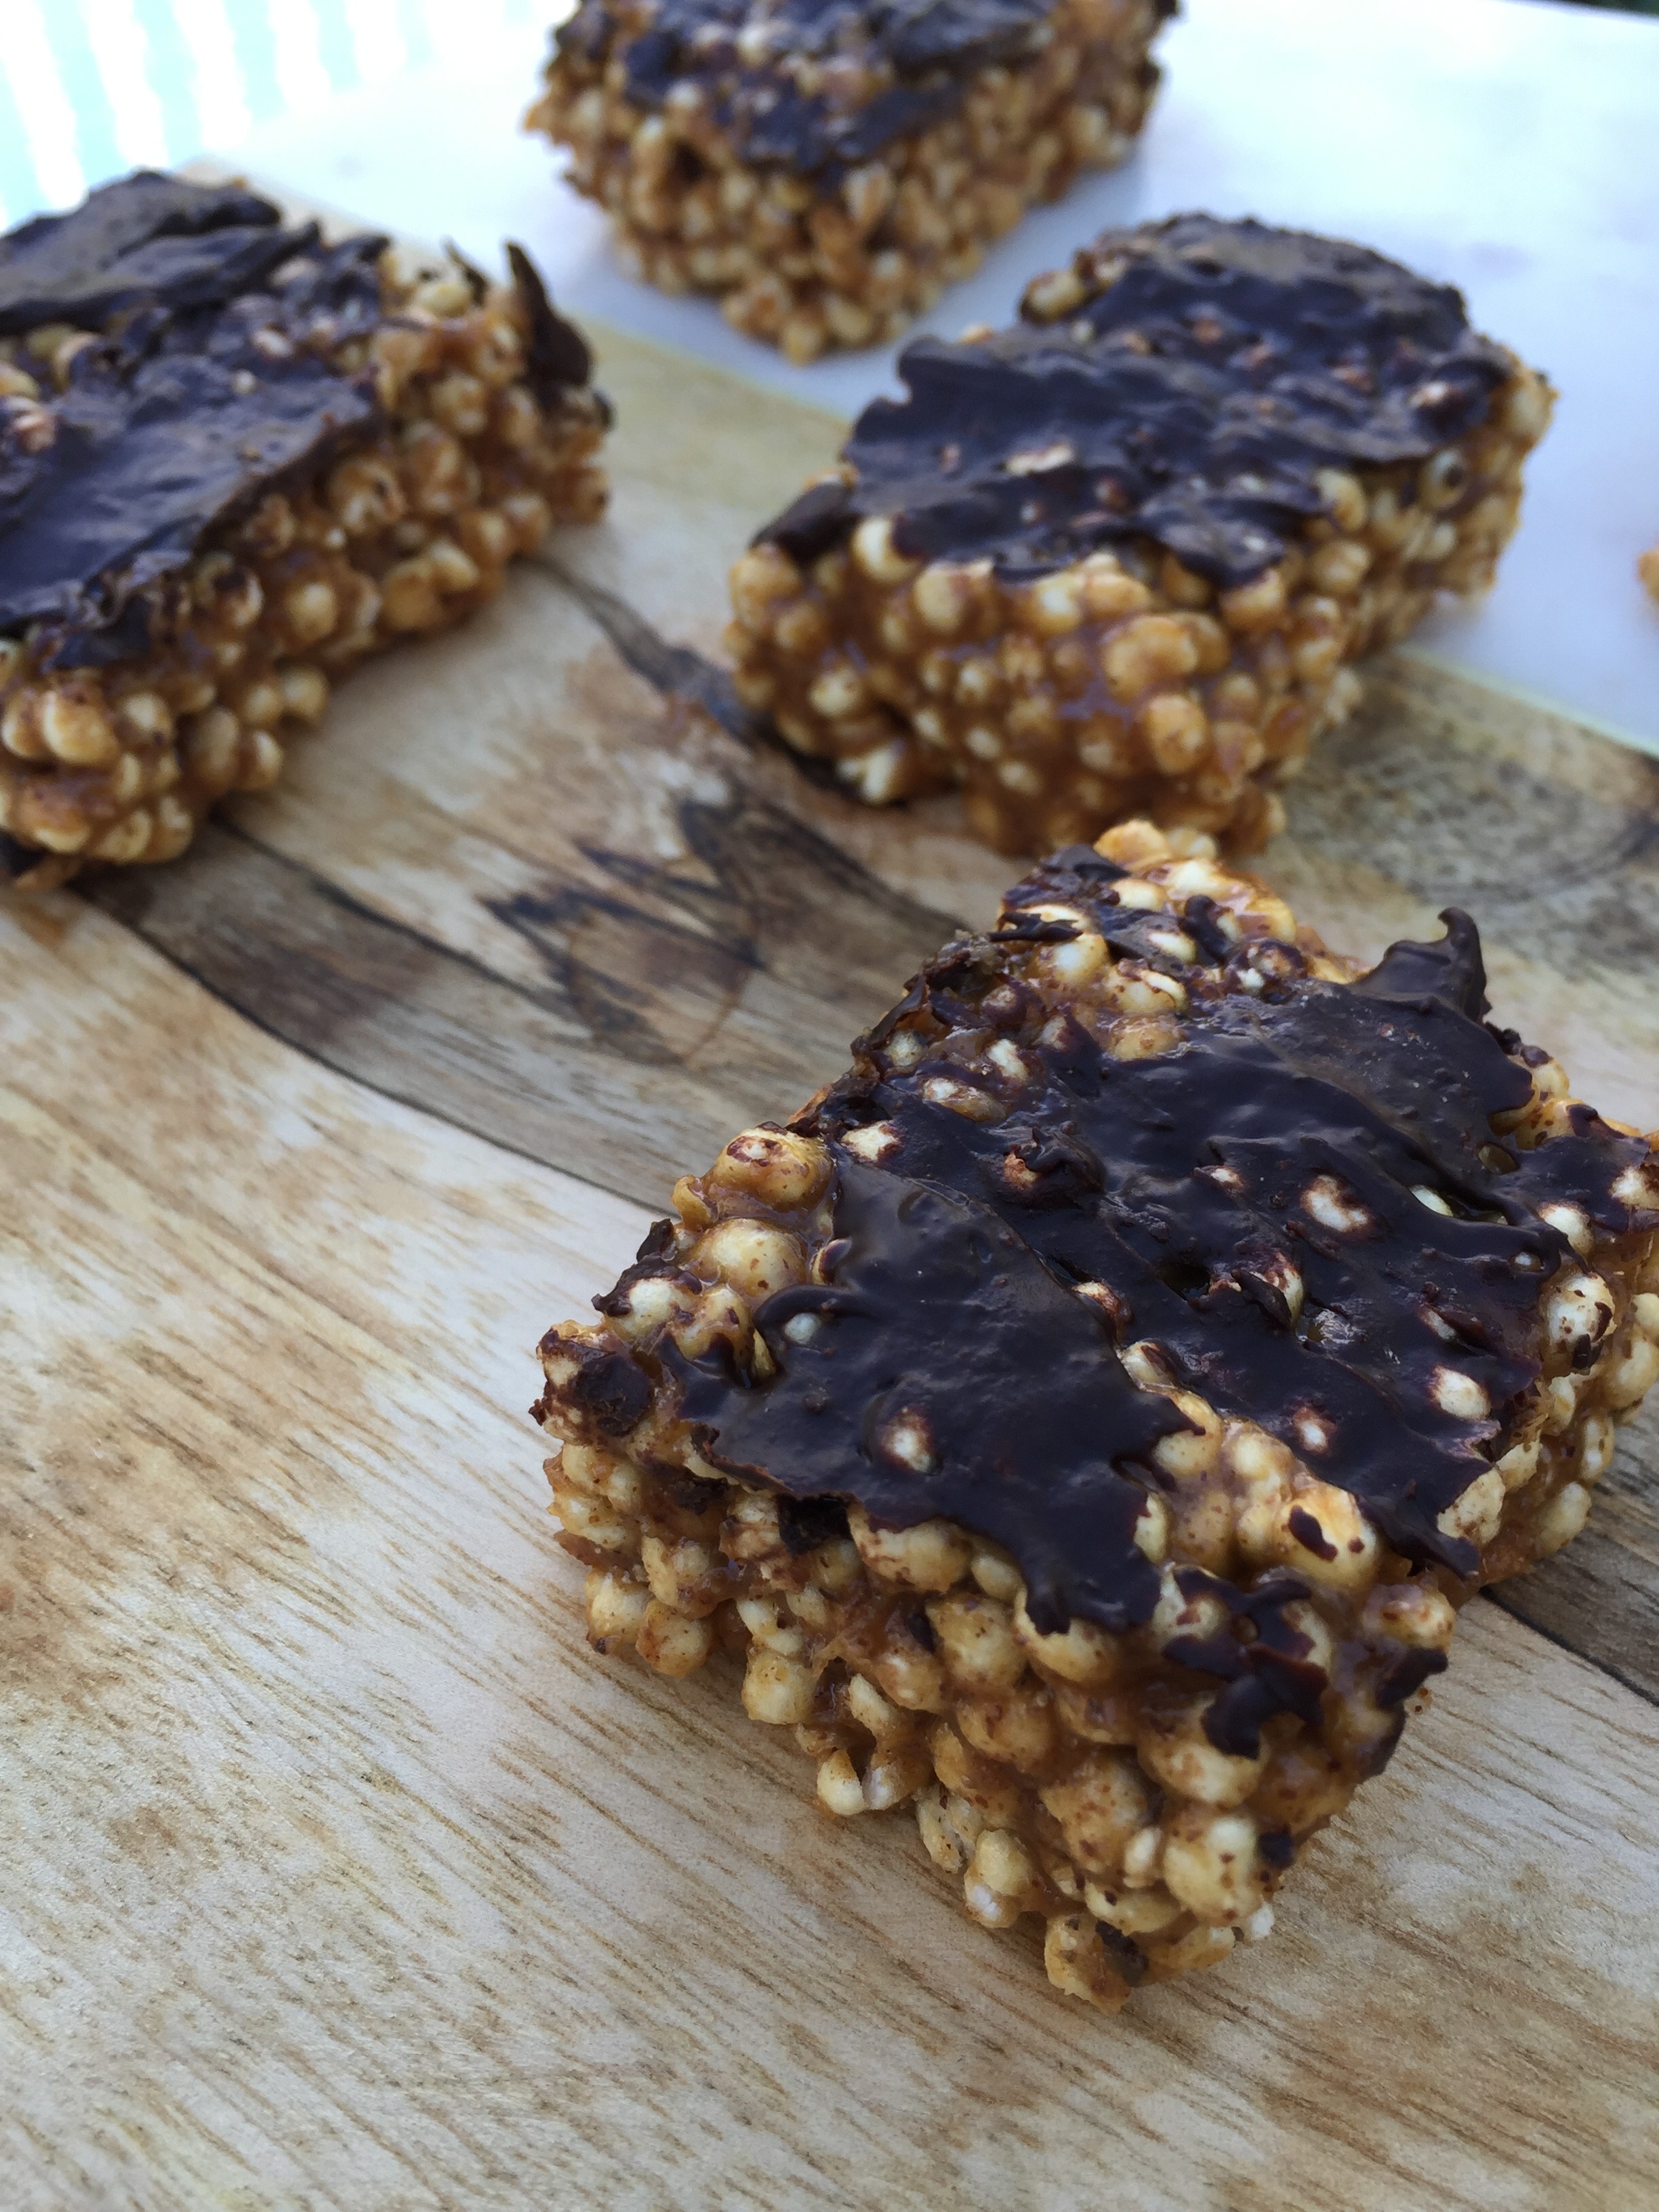
8. Pop them in the fridge for one hour to set up, then they are ready to be cut and served. You’ll get about 9 to 12 bars, depending on how you cut them. You’ll want to store these in a sealed container in the fridge and serve either cold or at room temperature. Just give them a few minutes out on the countertop first, for room temperature.
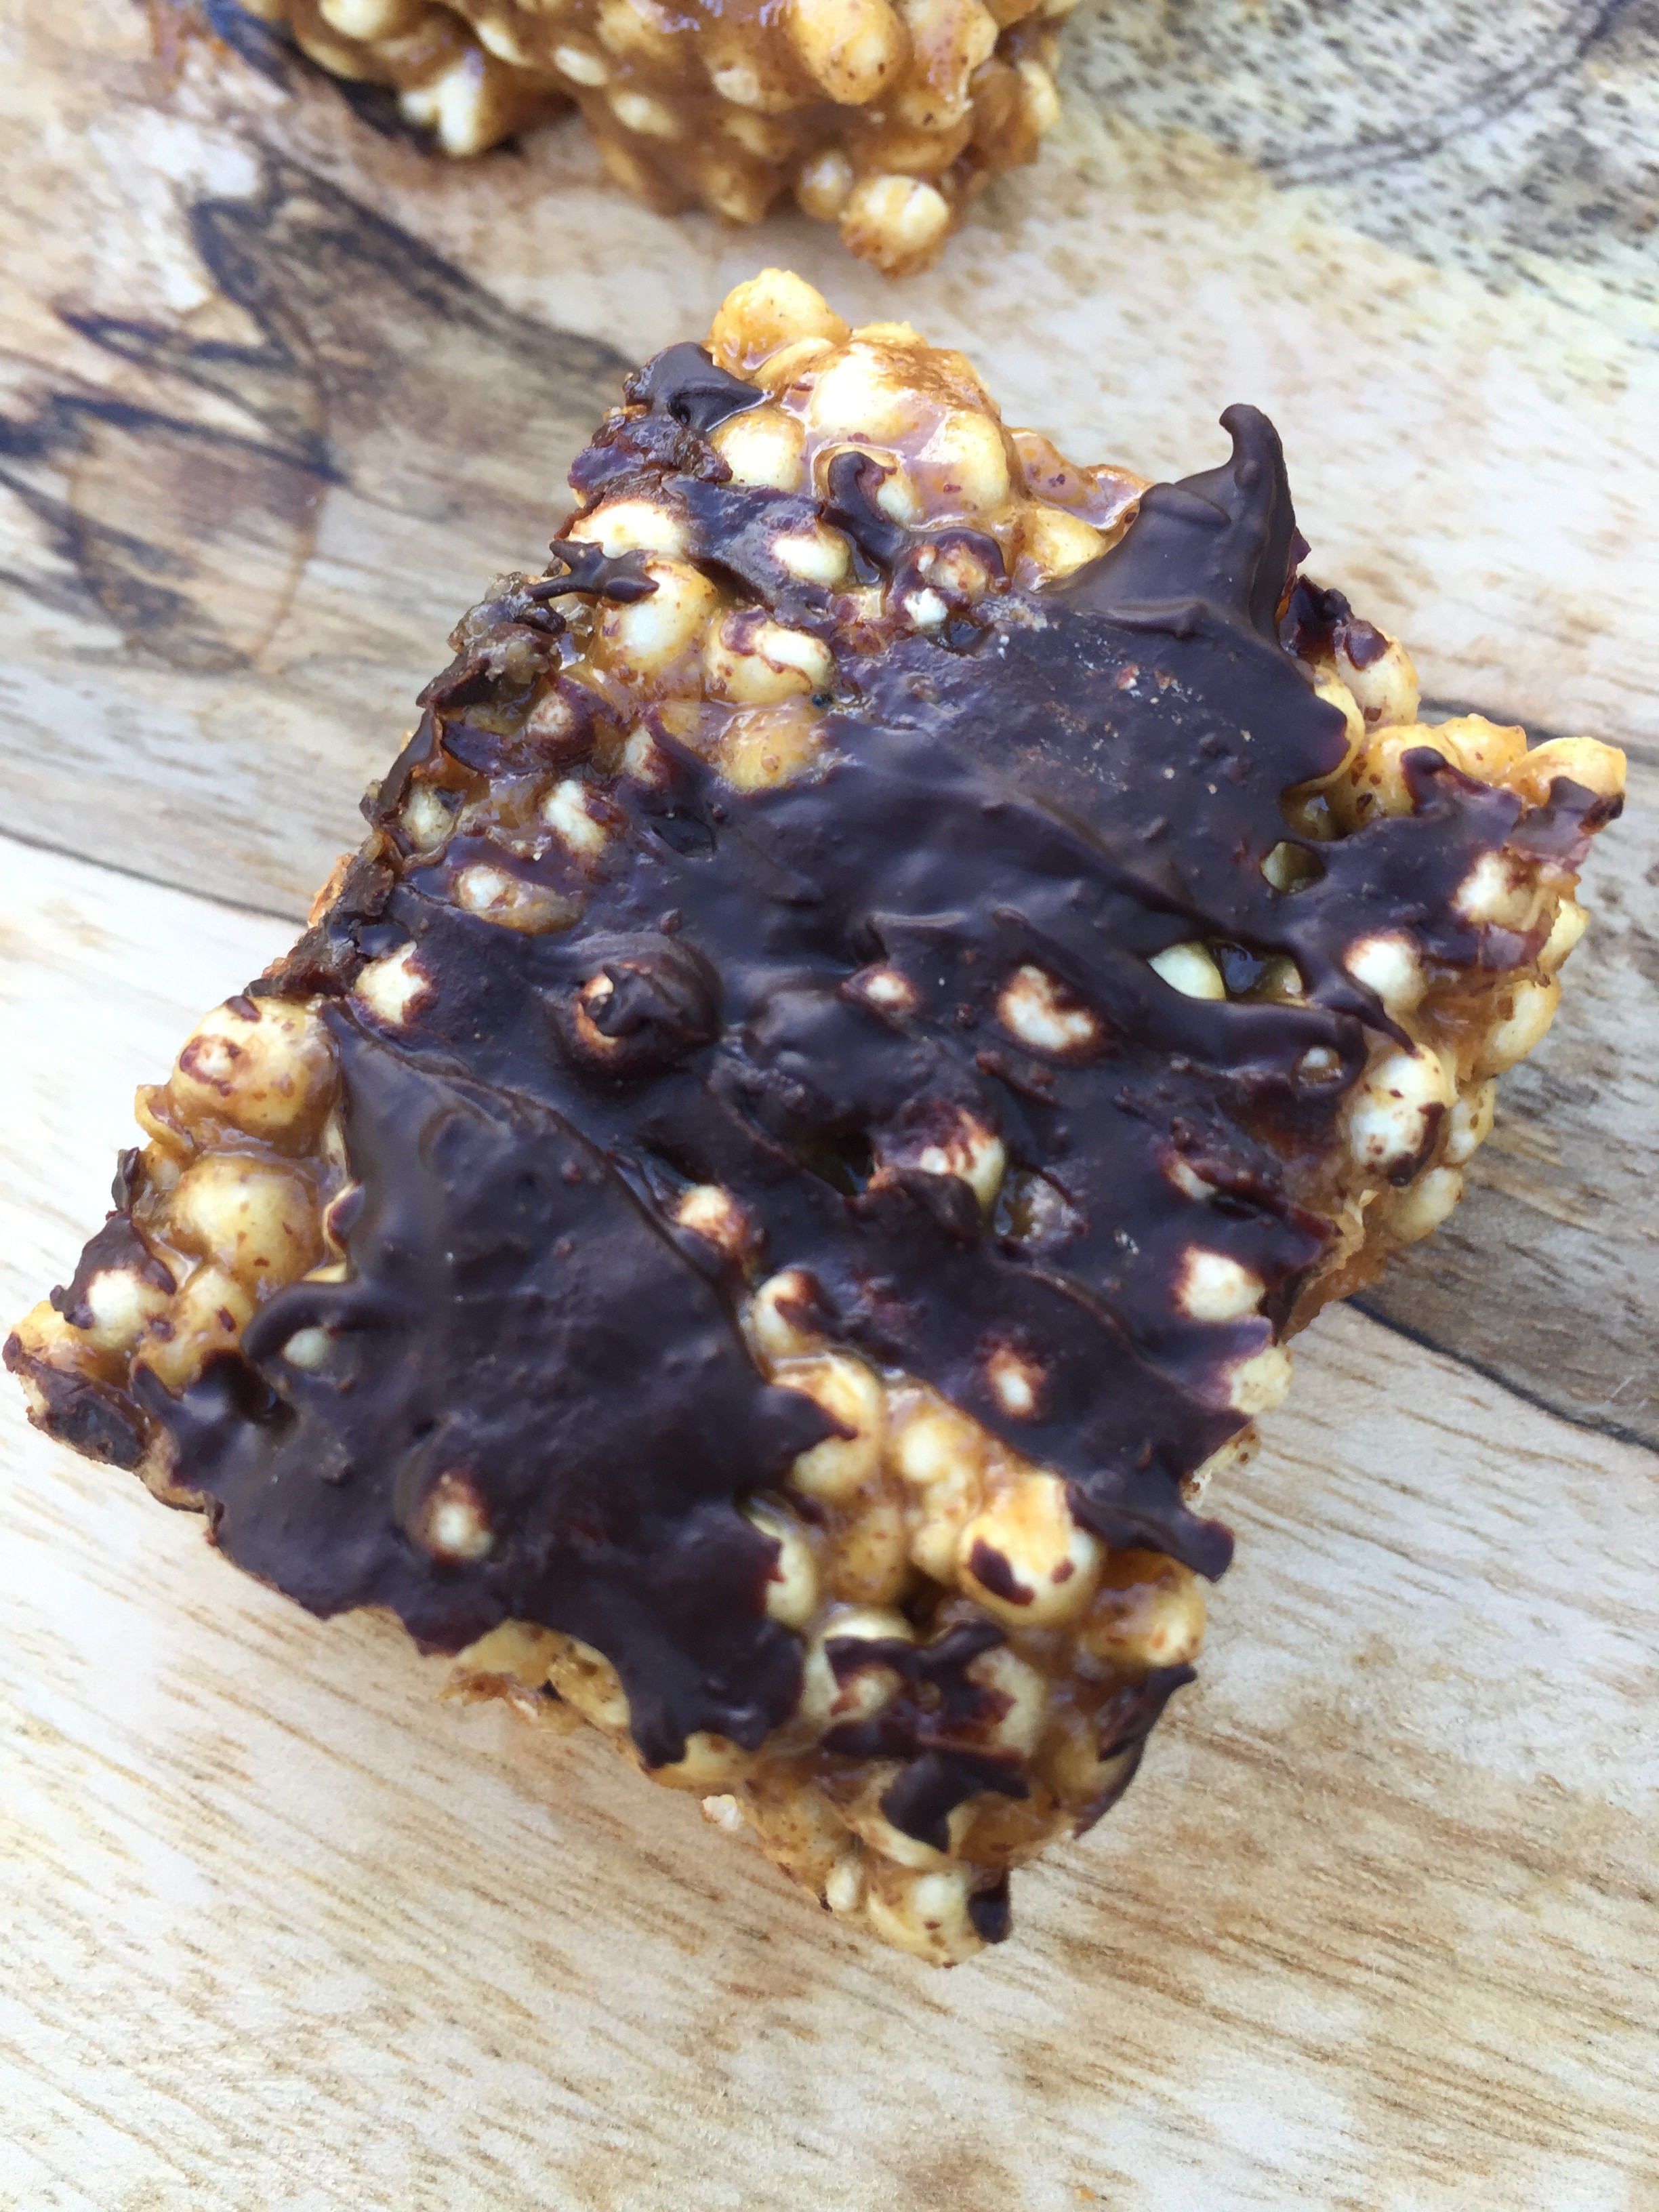
The maple syrup definitely gives it a sweet flavor. The puffs are a nice mix of crispy and chewy, while the chocolate on top gives it a good little crunch.
It’s a great dish when you’re in the mood for a little dessert, but trying to keep it healthy and light! Plus, it’s a fun one to make with the kiddos.
Try it!